Last June, I made a model particle accelerator using a plastic salad bowl. This was courtesy of a great 'cook-along' online CPD via Google Hangouts hosted by a fellow IOP Network Coordinator, Dan Cottle (@blendedlearner). Dan's video can be seen here - https://www.youtube.com/watch?v=4yU7rzgrg6A
This tweet from @ArdAcadPhysics shows the accelerator in action -
First there was the Salad Bowl Accelerator @PhysicsDrew #higher #particles... pic.twitter.com/JQJyj1nBES
— ArdAcad Physics (@ArdAcadPhysics) March 21, 2016
After building my own I was left with a huge surplus of aluminium tape, graphite paint and polystyrene balls, so i decided to run some CPD sessions to build it with other physics teachers at my own IOP CPD events.
The last of these sessions was at the ASE Scotland Conference in Aberdeen at the beginning of March. At my session one of the attendees asked it it would be possible to make a linear accelerator along the same lines. At the time the thought hadn't occurred to me, but I had a bit of a think about it over the following weeks until I found a bit of time (and the need to try it out with my own Higher physics class).
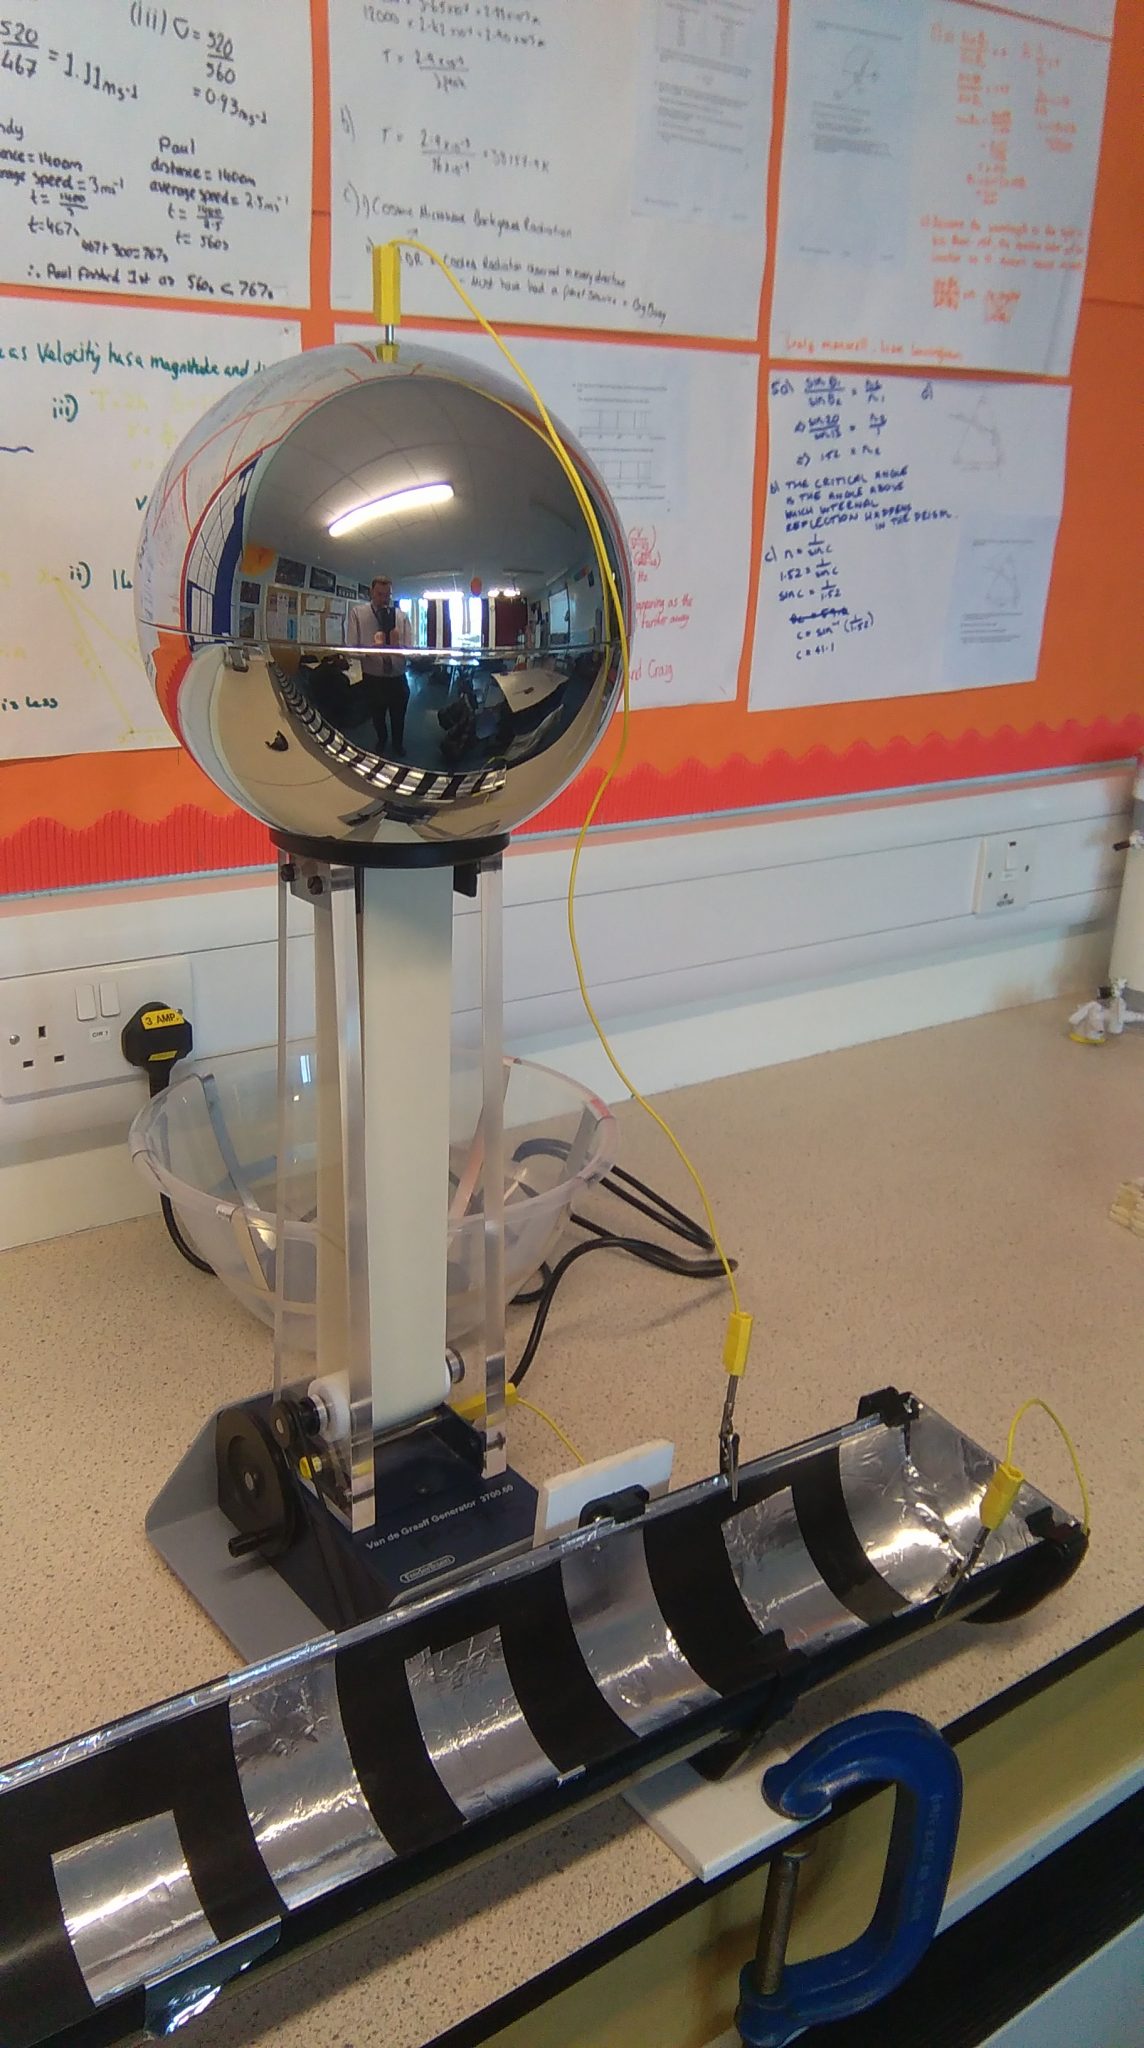
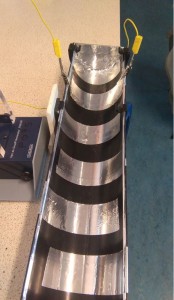
Using a bit of guttering my technician had in the stores and a lot of my surplus aluminium tape (I still have half a roll), my colleague Kenny Bell (@ArdAcadPhysics), through a process of trial and error managed to put together a working model of a linear accelerator.
Like the salad bowl accelerator this uses alternate strips of aluminium tape connected to a Van De Graaf generator, one side to the negative dome, the other side to the earth terminal.
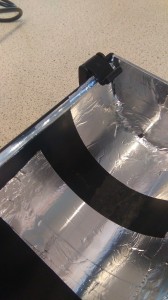
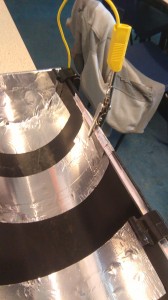
A thin strip of aluminium tape was run along each edge of the guttering to provide common 'rail' connections form each of the terminals on the Van de Graaf. The dome is connected to the side furthest from the camera in the image above. This inturn connects to the end from which the polystyrene balls start their acceleration, which is capped and has aluminium tape over the end cap and the base of the gutter. (Care was taken to avoid having the tape touch the earth rail, which would cause a short circuit.)
Alternate strips of aluminium tape were connected to each of the edge rails to give alternately negatively charged (connected to the dome) and neutral (earth) electrodes. Initially electrodes of different widths were tried, but this arrangement was unsuccessful.
With the connections made, a polystyrene ball coated in conductive graphite paint was introduced at the capped end of the accelerator and the Van de Graaf generator was switched on.
By trial and error @ArdAcadPhysics and I made a guttering linear accelerator. #asechat #physics pic.twitter.com/eNfF2noLmS
— Drew Burrett (@PhysicsDrew) March 21, 2016
A bit of tinkering was required to get the ball to accelerate along the warped guttering - achieved mainly by clamping it down to the desk. Further tinkering allowed it to be used to compare the acceleration of larger polystyrene ball with the smaller ones.
More discussion lead to the idea of using the linear accelerator to inject particles into the circular accelerator. Again, Kenny Bell offered invaluable assistance in achieving this.
Linear accelerator injected into circular accelerator #particles #higher @PhysicsDrew pic.twitter.com/qv3PvzfhyY
— ArdAcad Physics (@ArdAcadPhysics) March 24, 2016
If you want to use my example as a start point to build your own, please feel free to do so. if you have any questions, please get in touch via the comments below, or tweet @PhysicsDrew.
